Blinds
Roman Blinds
How to install corded Roman blinds
Corded Roman blind installation instructions
Please note – illustrations and diagrams provided are not to scale and are for visual reference only.
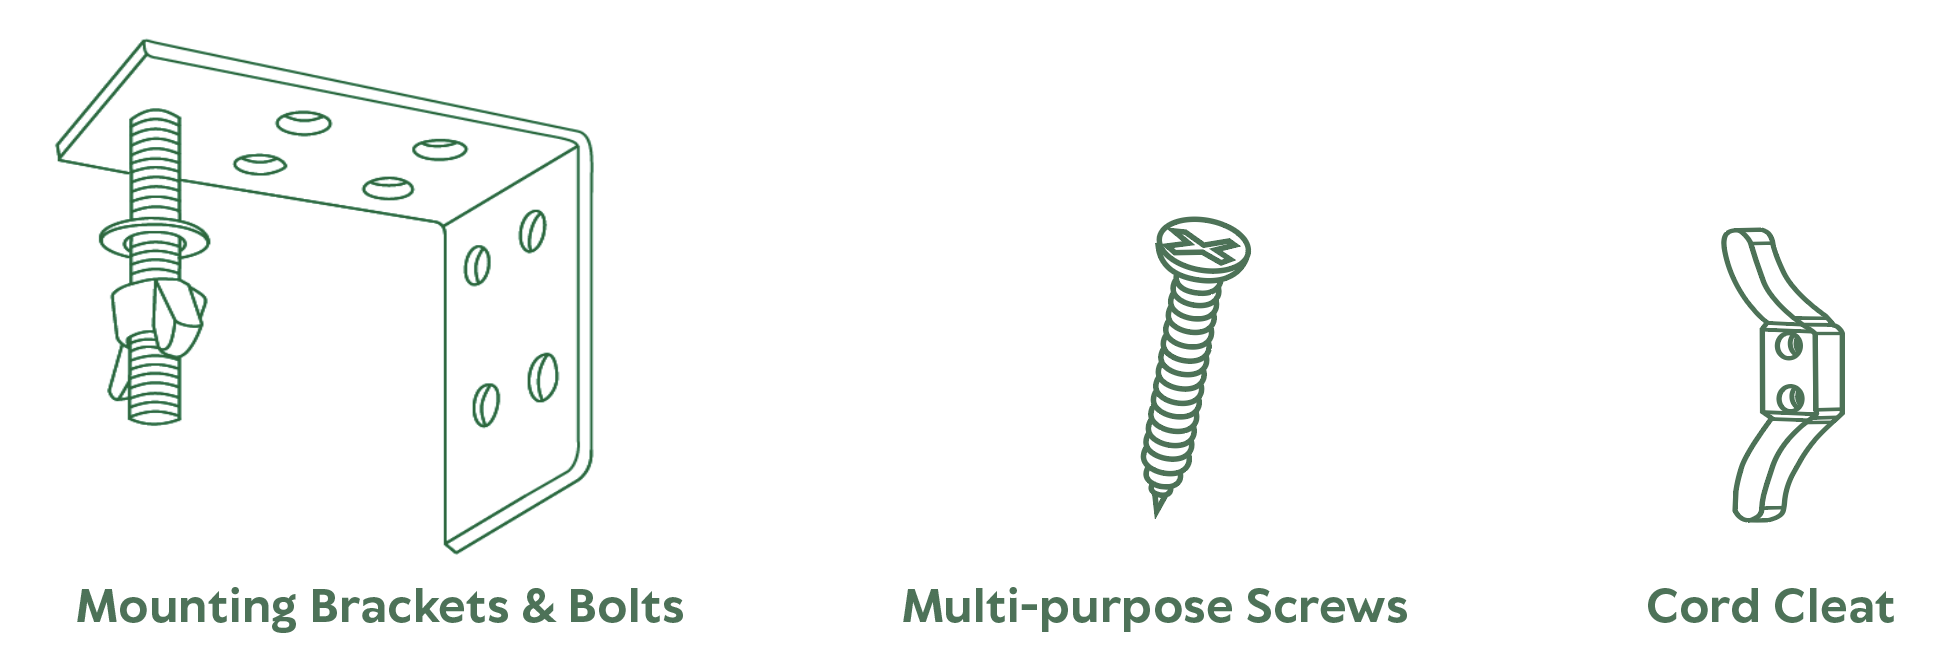
Fixing parts included (per blind)
Before you start…
Check all the above fixing parts have been supplied. In the event of a missing part (or parts) contact us for support. The number of fixing parts will vary in relation to the size and number of blinds supplied. Please ensure the blind is mounted using a spirit level for correct operation. The following tools and instruments will be required to complete installation safely and accurately:
- Power drill
- Phillips head screwdriver
- Pencil & tape measure
- Sharp blade
- Spirit level
- Small step ladder (if required)
- Protective eyewear & gloves (if drilling into masonry, metal or tile)
Step 1 – Installing the mounting brackets
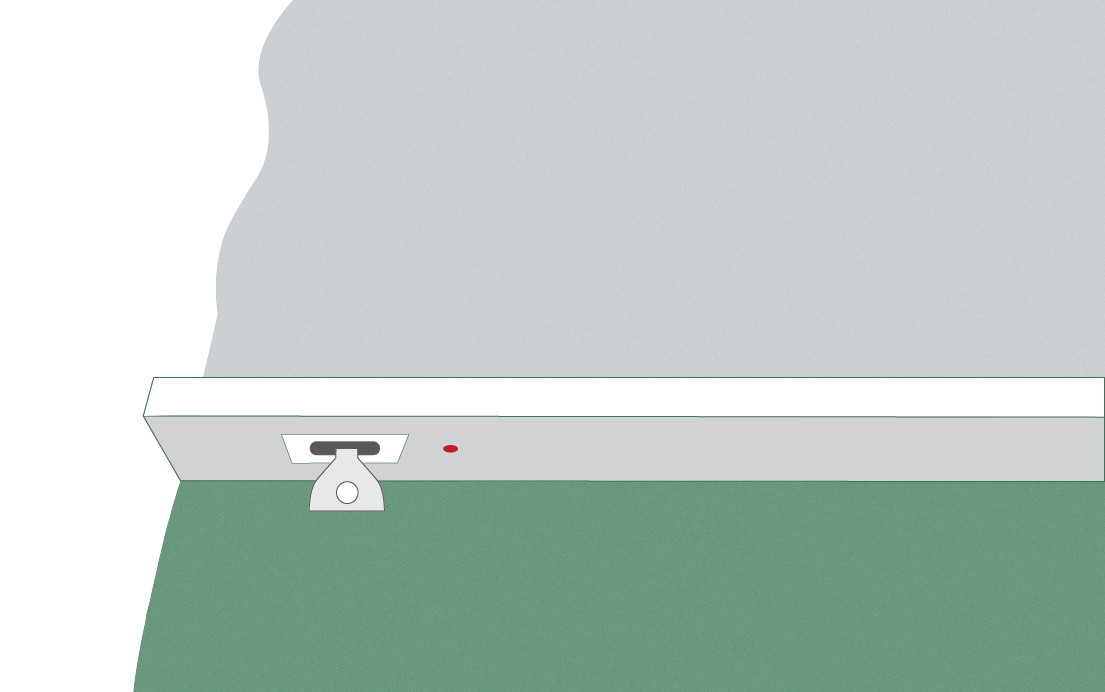
For a Roman blind, the fitting location will always be face fit as Roman blinds are not well suited to recess fitting due to their unique folding operation. The supplied mounting brackets are face fixed directly to the architrave or wall around your window. The mounting brackets positions should line up with the markings provided on your headrail (see Fig. 1). A marker is located close to each of the mechanism openings across the headrail
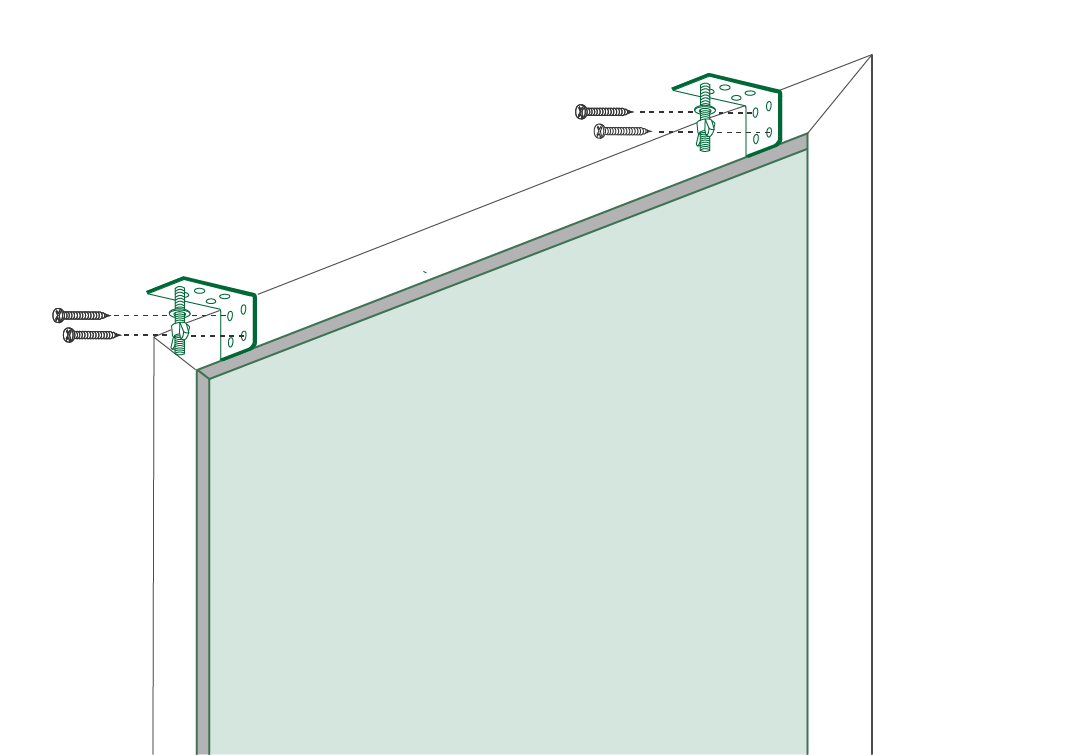
With the bracket positions known, lightly mark the fitting surface through the bracket holes, ensuring they line up with the markers on the headrail. Using a spirit level, ensure the mounting brackets are fixed in a horizontally level line across the fixing surface (see Fig. 2).
Step 2 – Attaching the blind headrail
With your mounting brackets secured to the surface, use a fine blade to puncture a short lengthways slit on the left and right side of the top and bottom of the headrail. To locate these areas under the headrail covering material, run your finger along the bottom of the headrail until you feel the recessed indentations (see Fig.3). 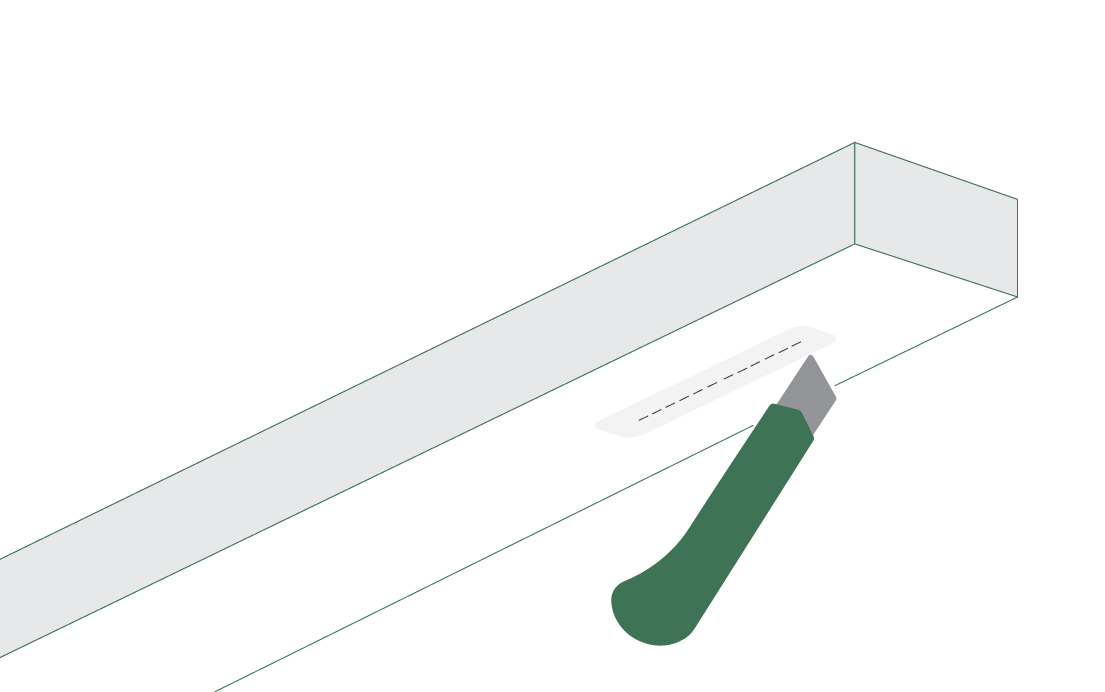
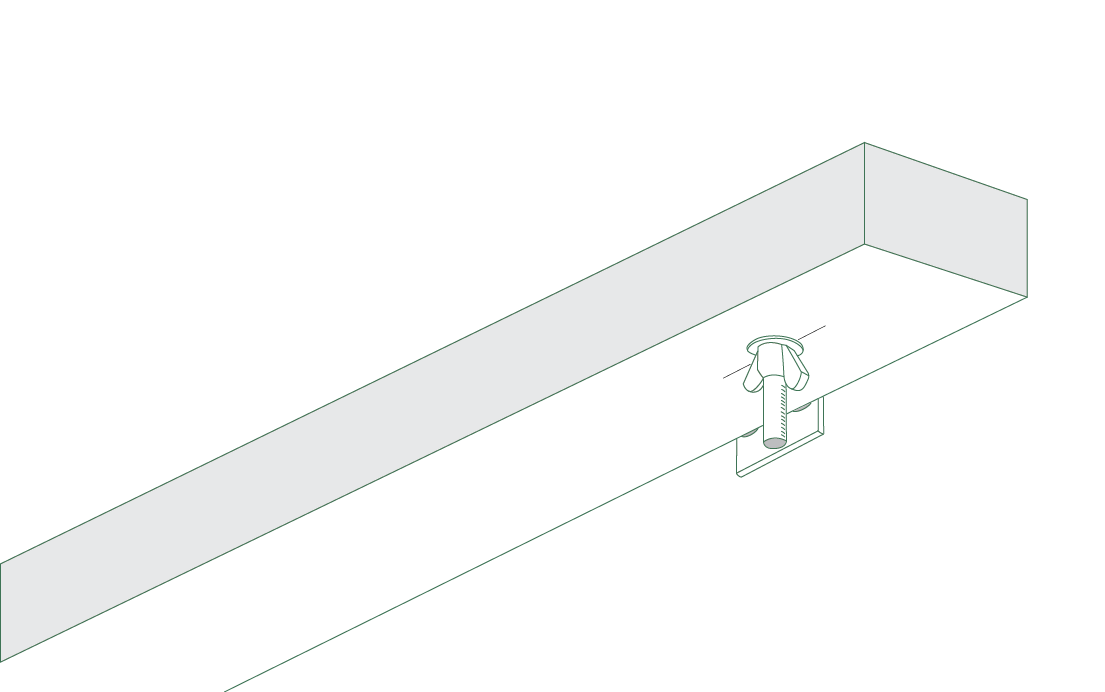
With these slits created, place the headrail under the mounting brackets and fit the bolts through the slits in the headrail and into the mounting bracket’s guide hole. Then tighten the ring and moor of the bolts (see Fig. 4).
Step 3 – Installing the cord cleat
Please read the Important Safety Information before fastening the cleat to the frame or wall. Only use screws to attach the cleat. Do not use nails, tape, adhesives, staples or similar items that could loosen and present a safety hazard.
Important Safety Information
Blind and curtain cords are a significant risk to children as unsecured cords can lead to strangulation.
The Australian Competition and Consumer (Corded Internal Window Coverings) Safety Standard states that a corded internal window covering ‘must be installed in a way that a loose cord cannot form a loop 220 mm or longer and at less than 1600 mm above floor level’. To achieve this requirement, follow the below advice:
- Check there are no loose operational cords that children can reach from the floor, cot/bed, or by climbing on nearby furniture.
- If you install an operational Cord Cleat lower than 1600mm above floor level, you must ensure that children cannot remove the cord from the cleat and that the cord is sufficiently secured or tensioned to prevent a loop of 220mm or longer from being formed.
- The Cord Cleat must be installed using both screws.
- When installing into plasterboard, the Cord Cleat must be attached to the studs behind the plasterboard using the self-tapping screws provided and mounted at a height of at least 1600mm from the floor.
- For masonry walls, pre-drill small holes the size of the appropriate screw anchors at the marked location. Insert the anchors at the holes and then fix the Cord Cleat with the provided screws.
Pull testing
Once the Cord Cleat is safely attached, pull the cord with a 70N force* for 10 seconds. Repeat the pull test at a minimum of four angles, varied evenly through the possible range of motion. The Cord Cleat must remain firmly attached to the wall (or other structure).
If the Cord Cleat is no longer firmly attached i.e., it is pulled off the wall or becomes loose, then there is high chance that it can be pulled of the frame or wall and will become a strangulation hazard for children.
*A force of 70N is approximately equal to applying a 7-kilogram weight and has been assessed as the likely amount of force a child may exert on a blind cord guide by grabbing, pulling or hanging on it. For more information, visit www.productsafety.gov.au