Panel Glide Blinds
How to install Panel Glide blinds
Panel glide blind installation instructions
Please note – illustrations and diagrams provided are not to scale and are for visual reference only.
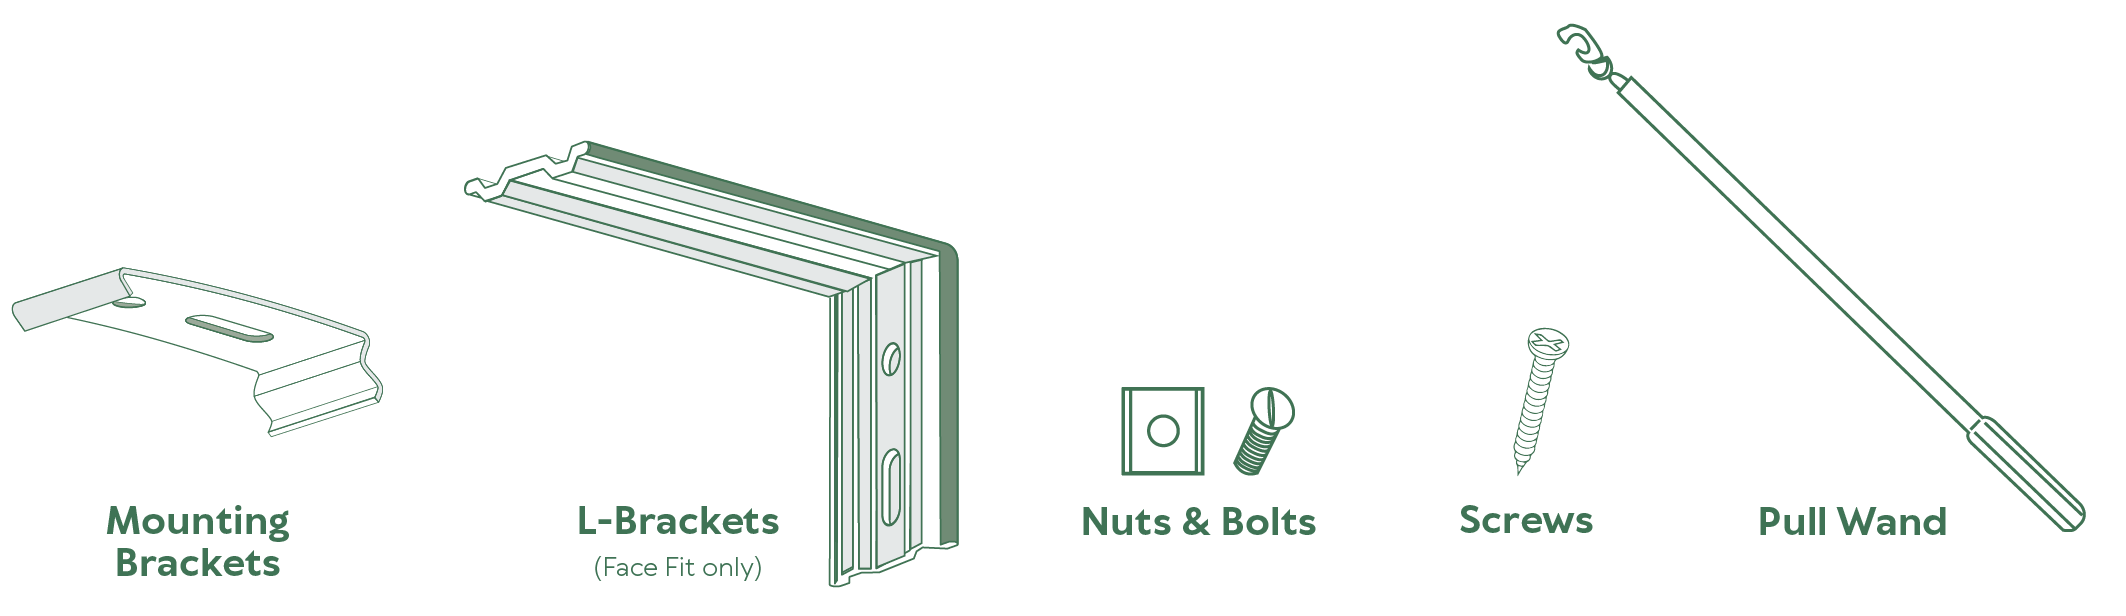
Fixing parts included (per blind)
Before you start…
Check all the above fixing parts have been supplied. In the event of a missing part (or parts) contact us for support. The number of fixing parts will vary in relation to the size and number of blinds supplied. Please ensure the blind is mounted using a spirit level for correct operation. The following tools and instruments will be required to complete installation safely and accurately:
- Power drill
- Phillips head screwdriver
- Pencil & tape measure
- Spirit level
- Step ladder (if required)
- Protective eyewear & gloves (if drilling into masonry, metal or tile)
Fitting location
Before commencing installation, determine the correct fitting location for your window. The location should correspond with your order information. Please note, your finished size for a Face Fit blind is as per the ordered size. For a Recess Fit blind, the supplied width will be 10mm less than ordered to allow the brackets to fit inside the recess.
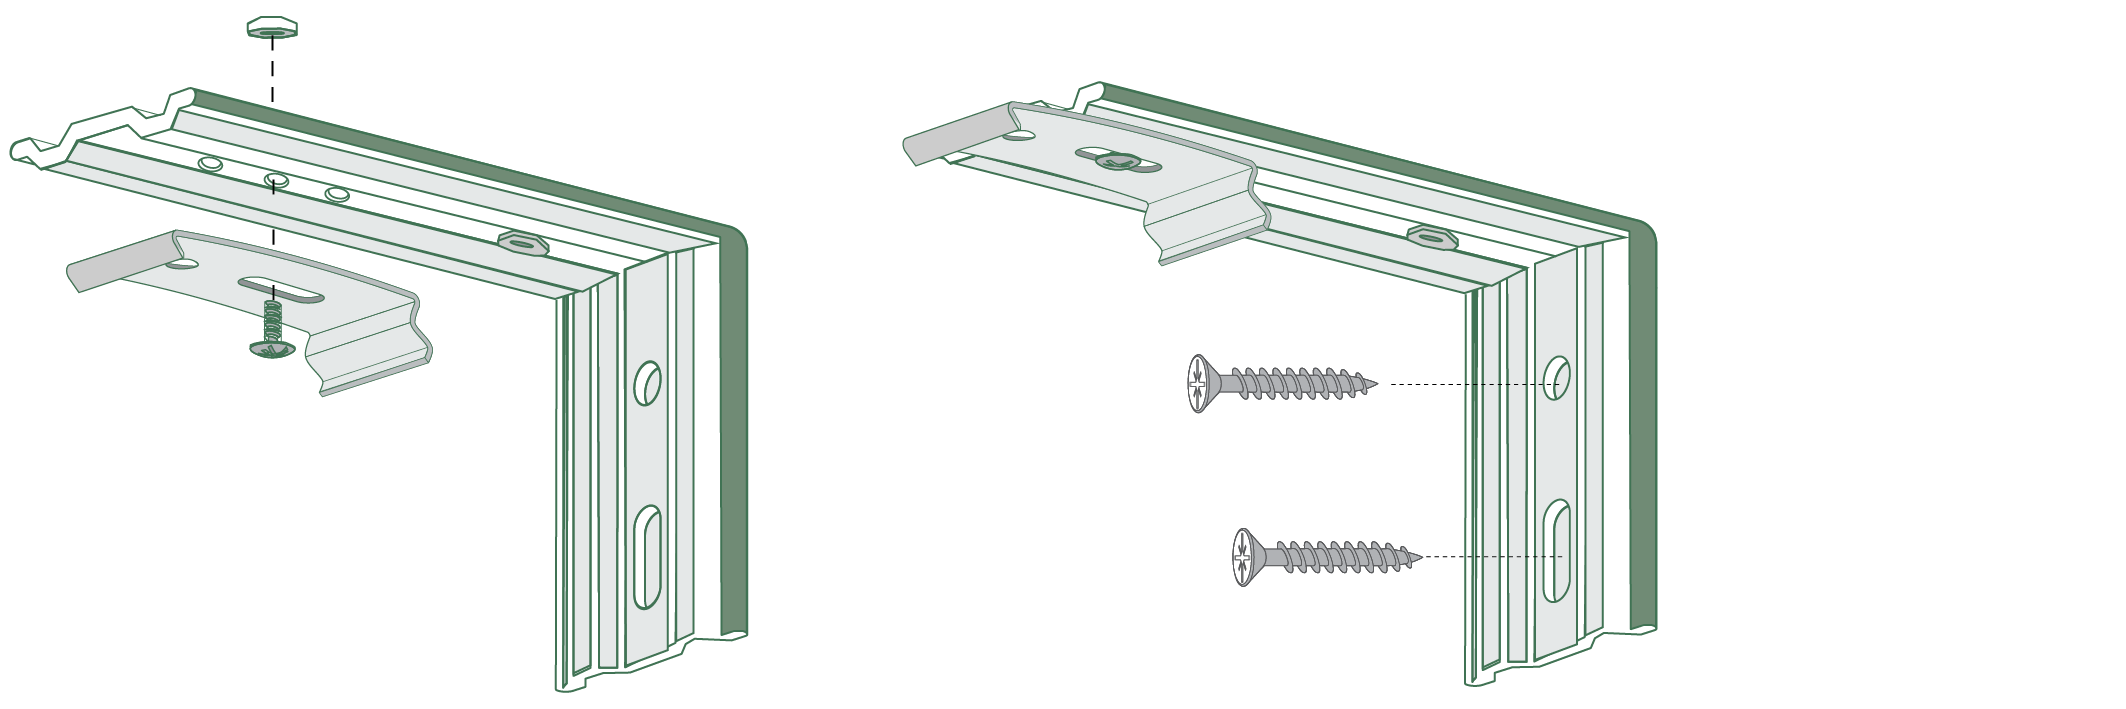
Step 1 – Installing the mounting brackets (Recess Fit)
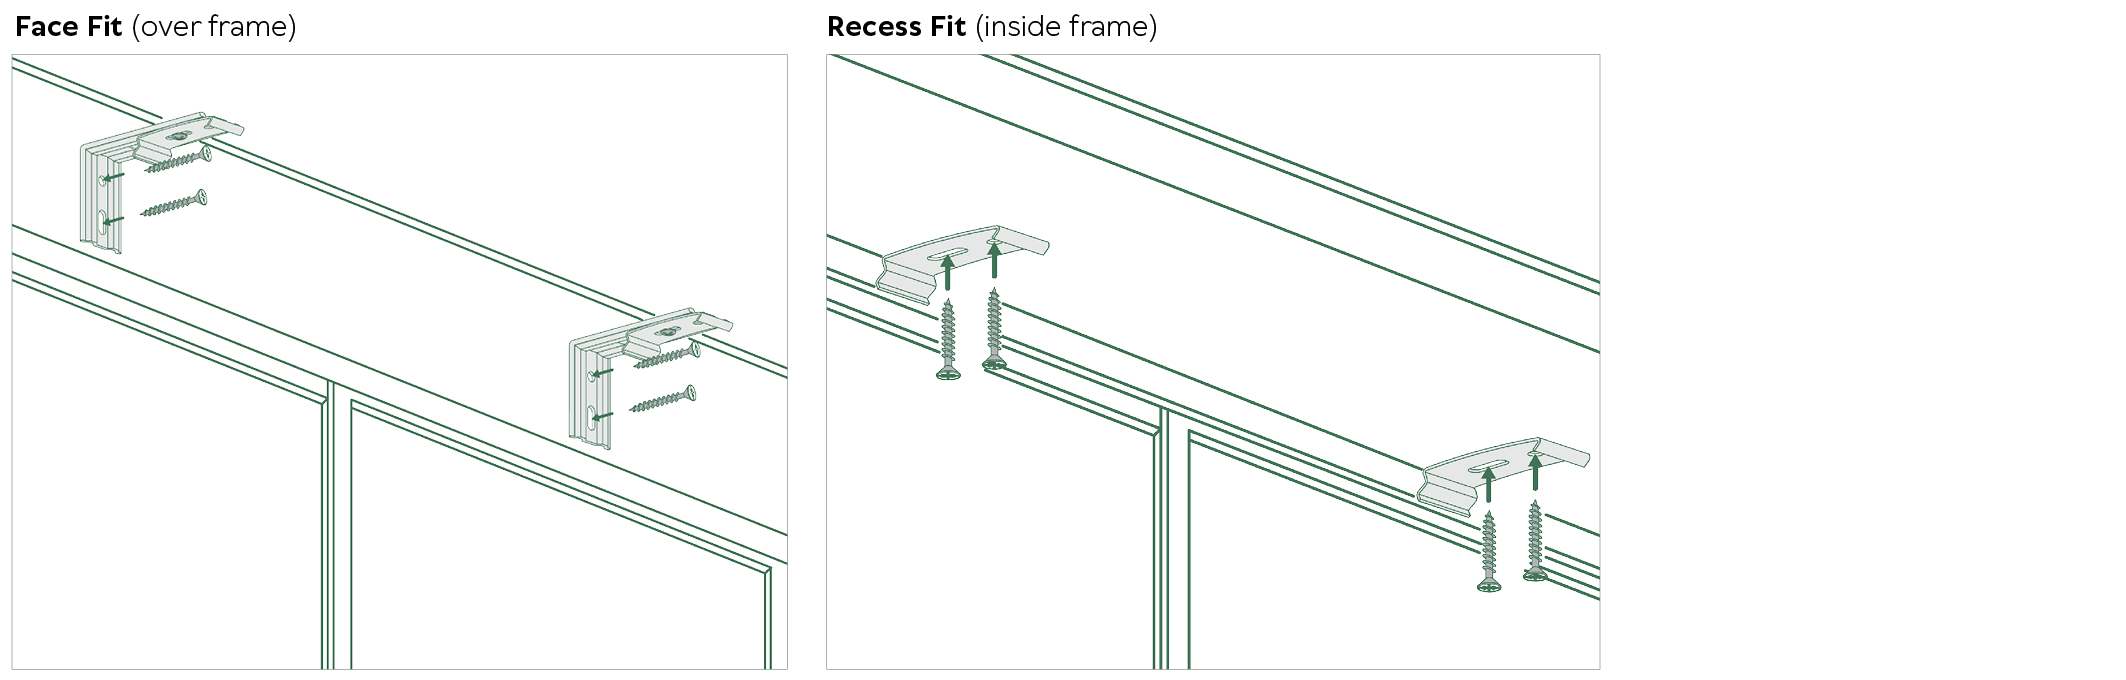
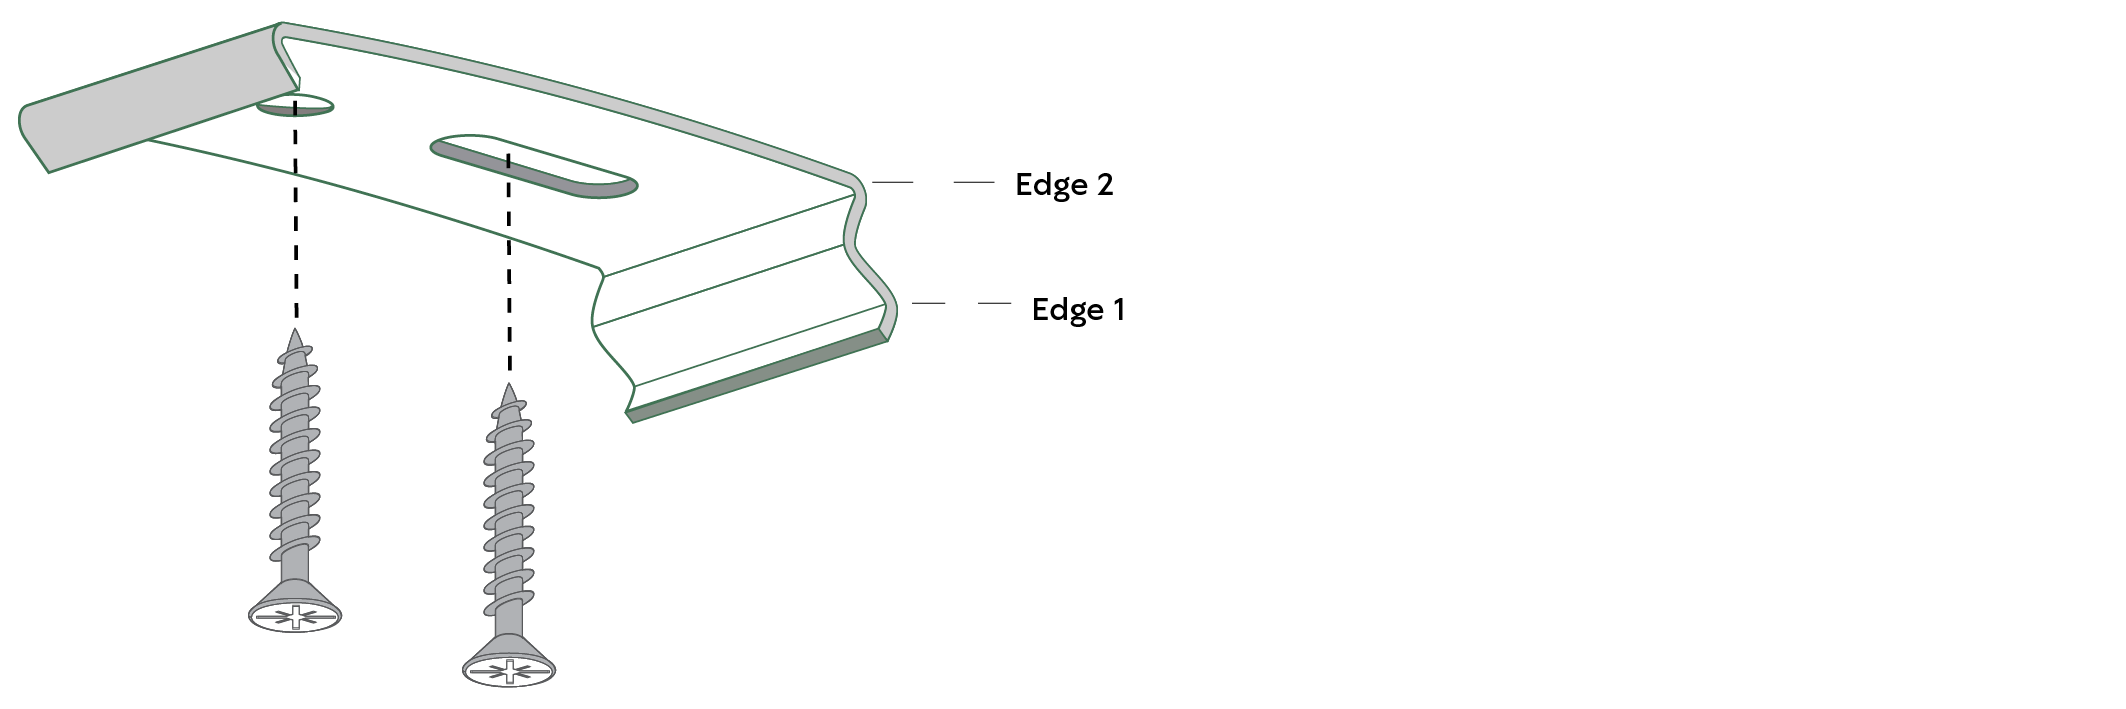
Attach the mounting brackets directly onto the mounting surface, such as a window architrave or wall, in the desired position. Edges 1 and 2 should be fixed to the back of the panel glide location. Ensure the brackets are fixed in a straight line so the track can be attached easily. Please note, general purpose timber screws have been provided, however, screws suitable for gyprock or masonry fixing will need to be purchased by the installer.
Step 1.1 – Installing the mounting brackets (Face Fit)
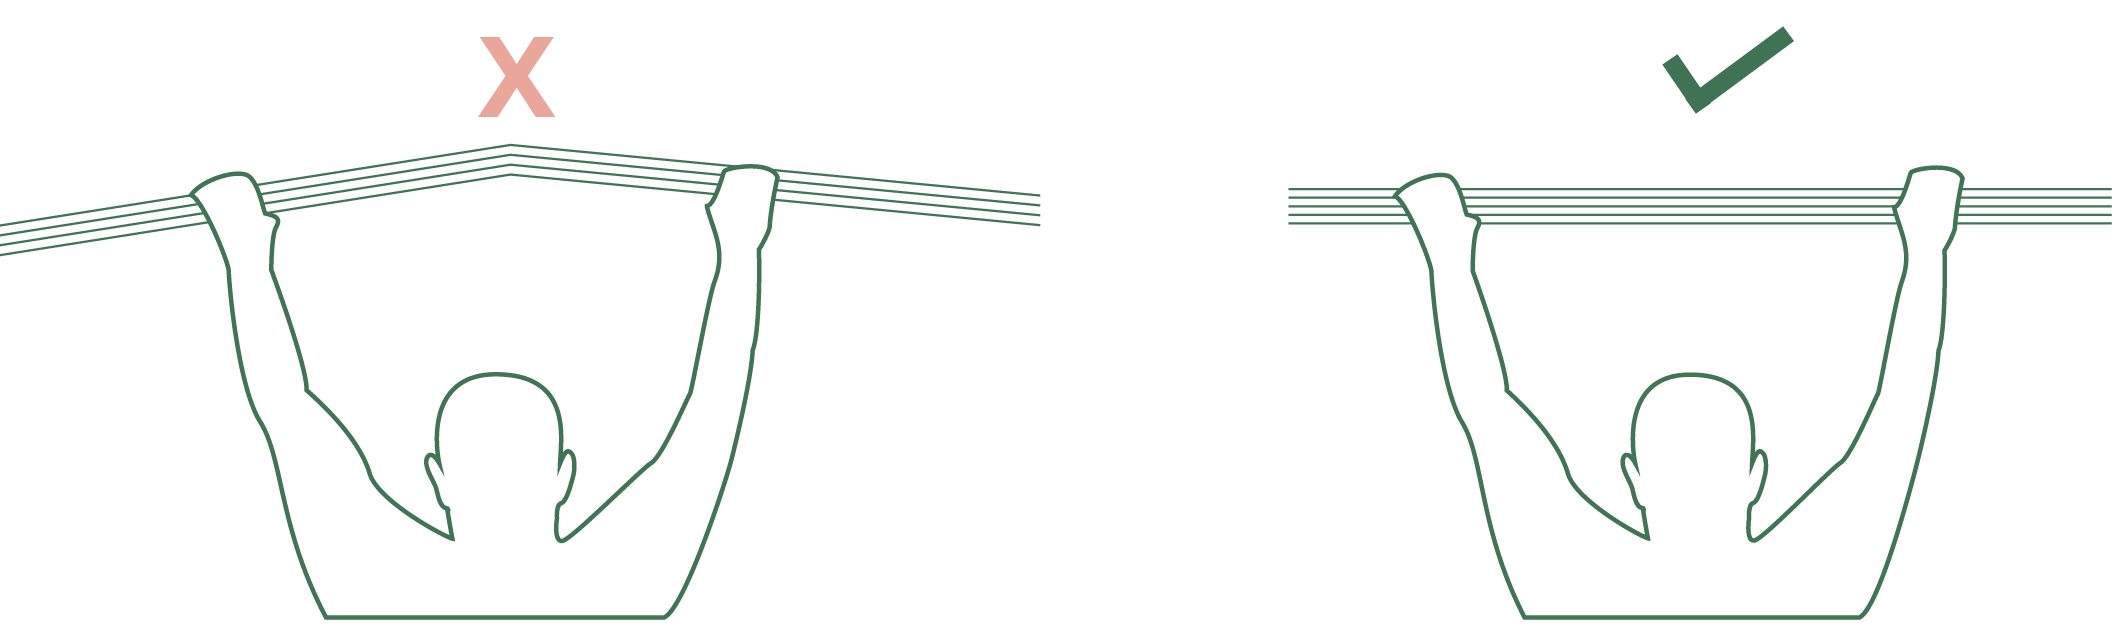
Attach a mounting bracket to the underside of the longest piece of a L-bracket with the provided nut and bolt. Ensure the nut is on the top of the L-bracket and edges 1 and 2 of the mounting bracket are facing towards the wall or architrave. Attach the L-Brackets to the wall or architrave in the desired location and spaced evenly, ensuring they are level. They must be fixed at least 10mm from the left and right ends of the track.
Please note, if your track is wider than 3000mm it will come in two pieces which will need to be joined using a joiner piece. An extra mounting bracket must also be installed directly over the join point to add support. If your tracks require joining, please refer to Joining Tracks instructions before continuing installation.
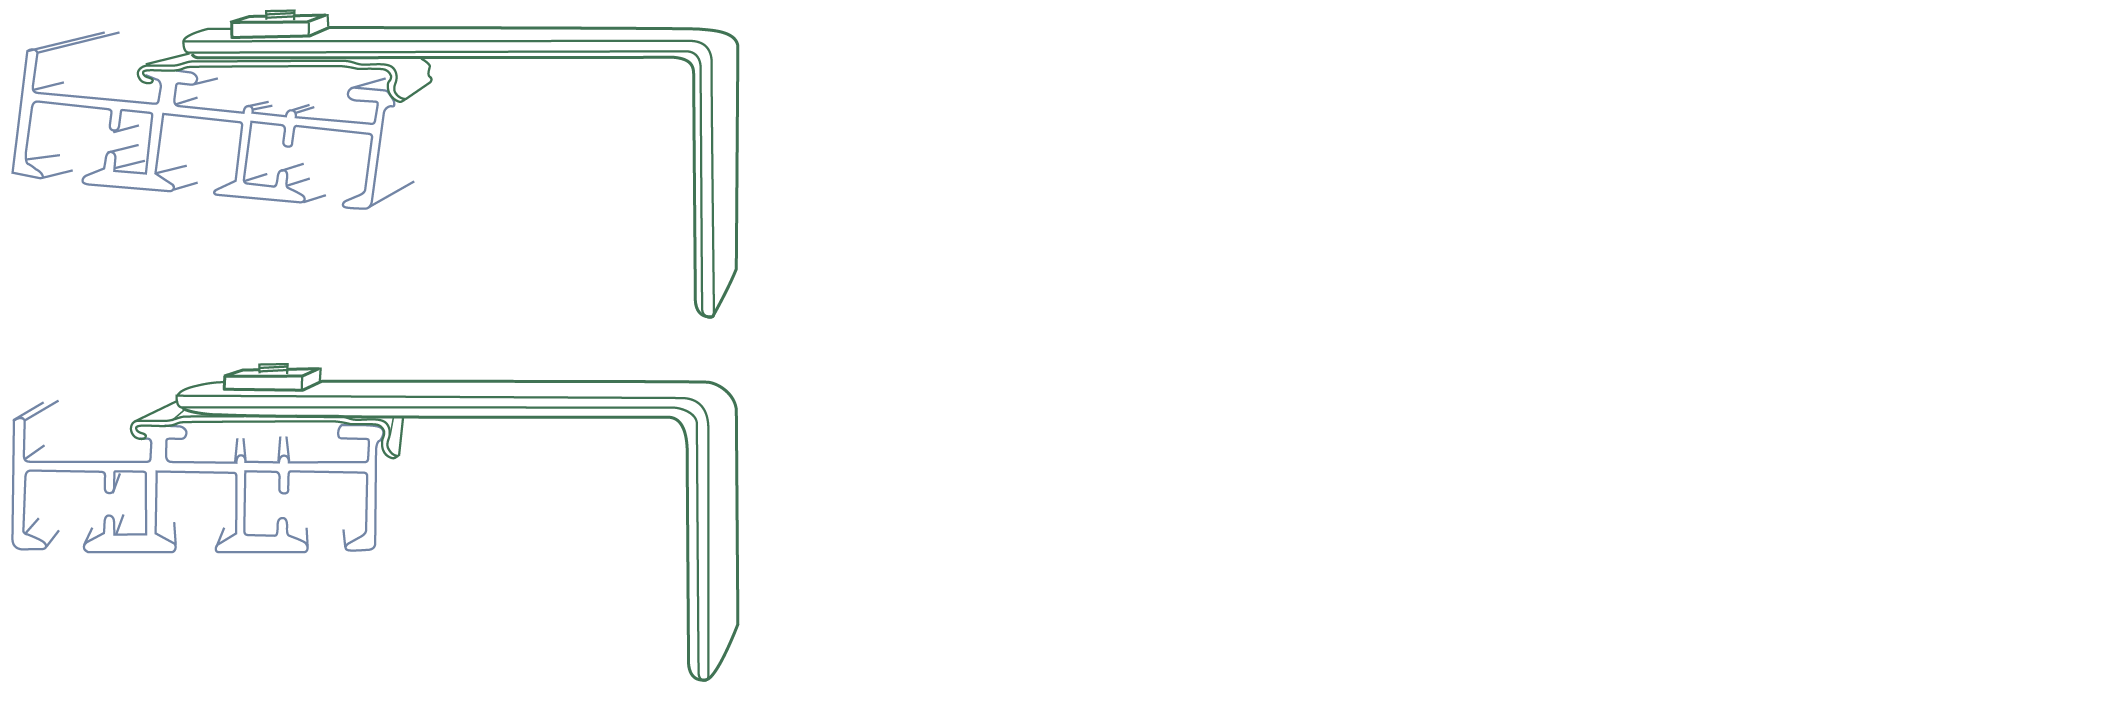
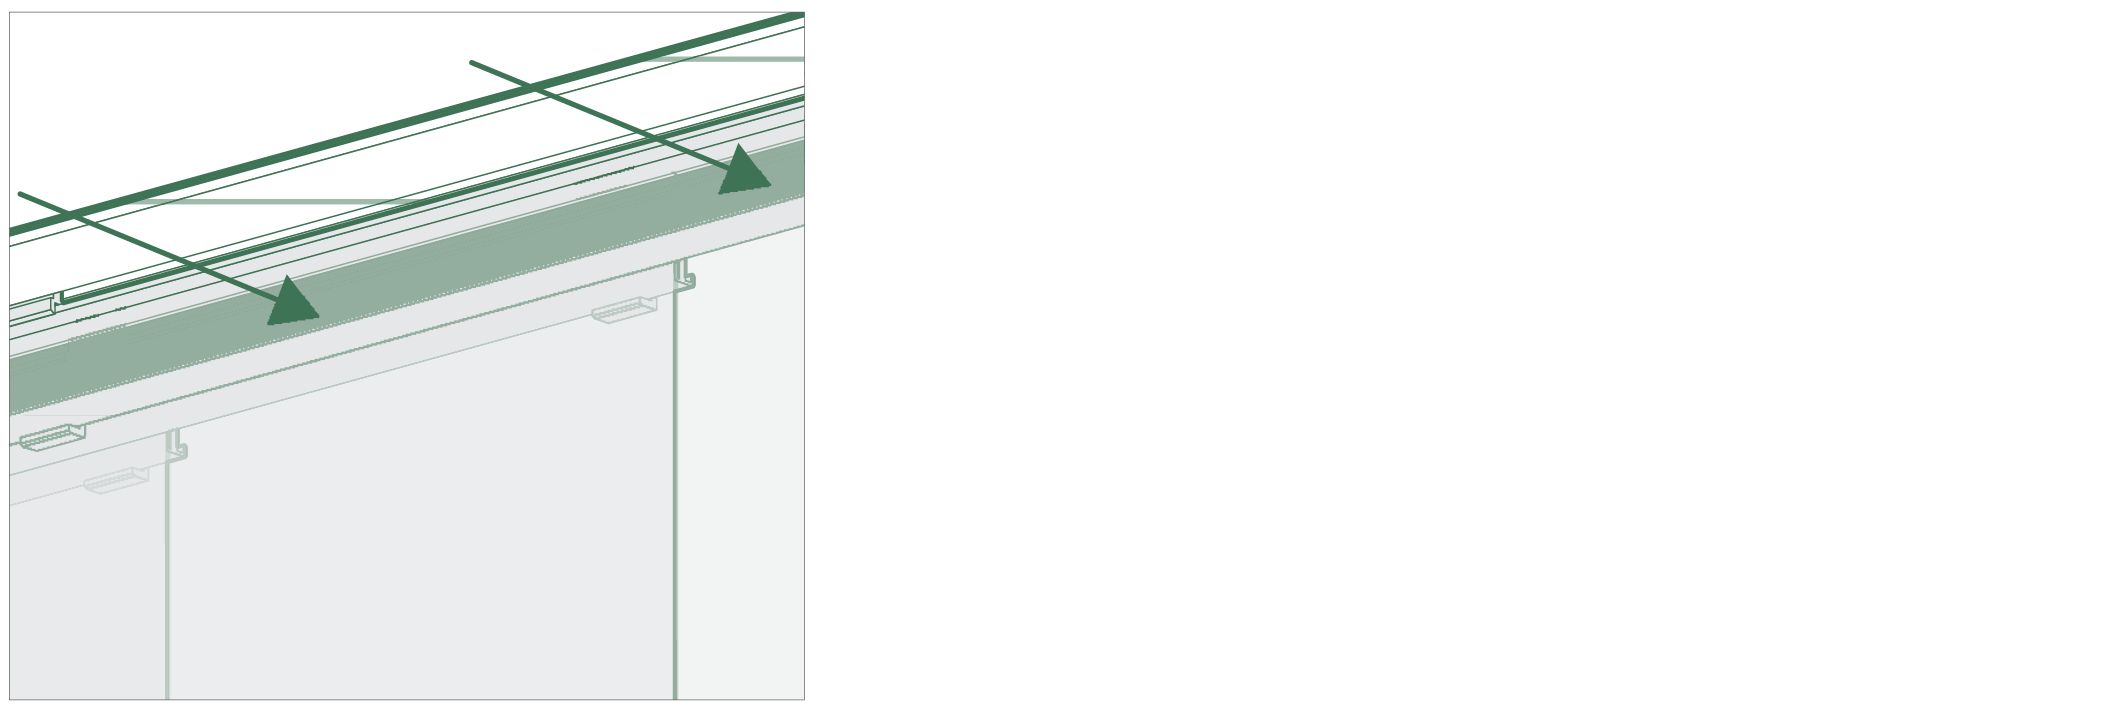
Step 2 – Attaching the blind track
Position the blind track into the front edge of each of the Mounting Brackets and gently push upwards towards Edge 1 only. Before completely pushing upwards to Edge 1, ensure the track is in the correct position. Then push upwards again until the track clicks into Edge 2.
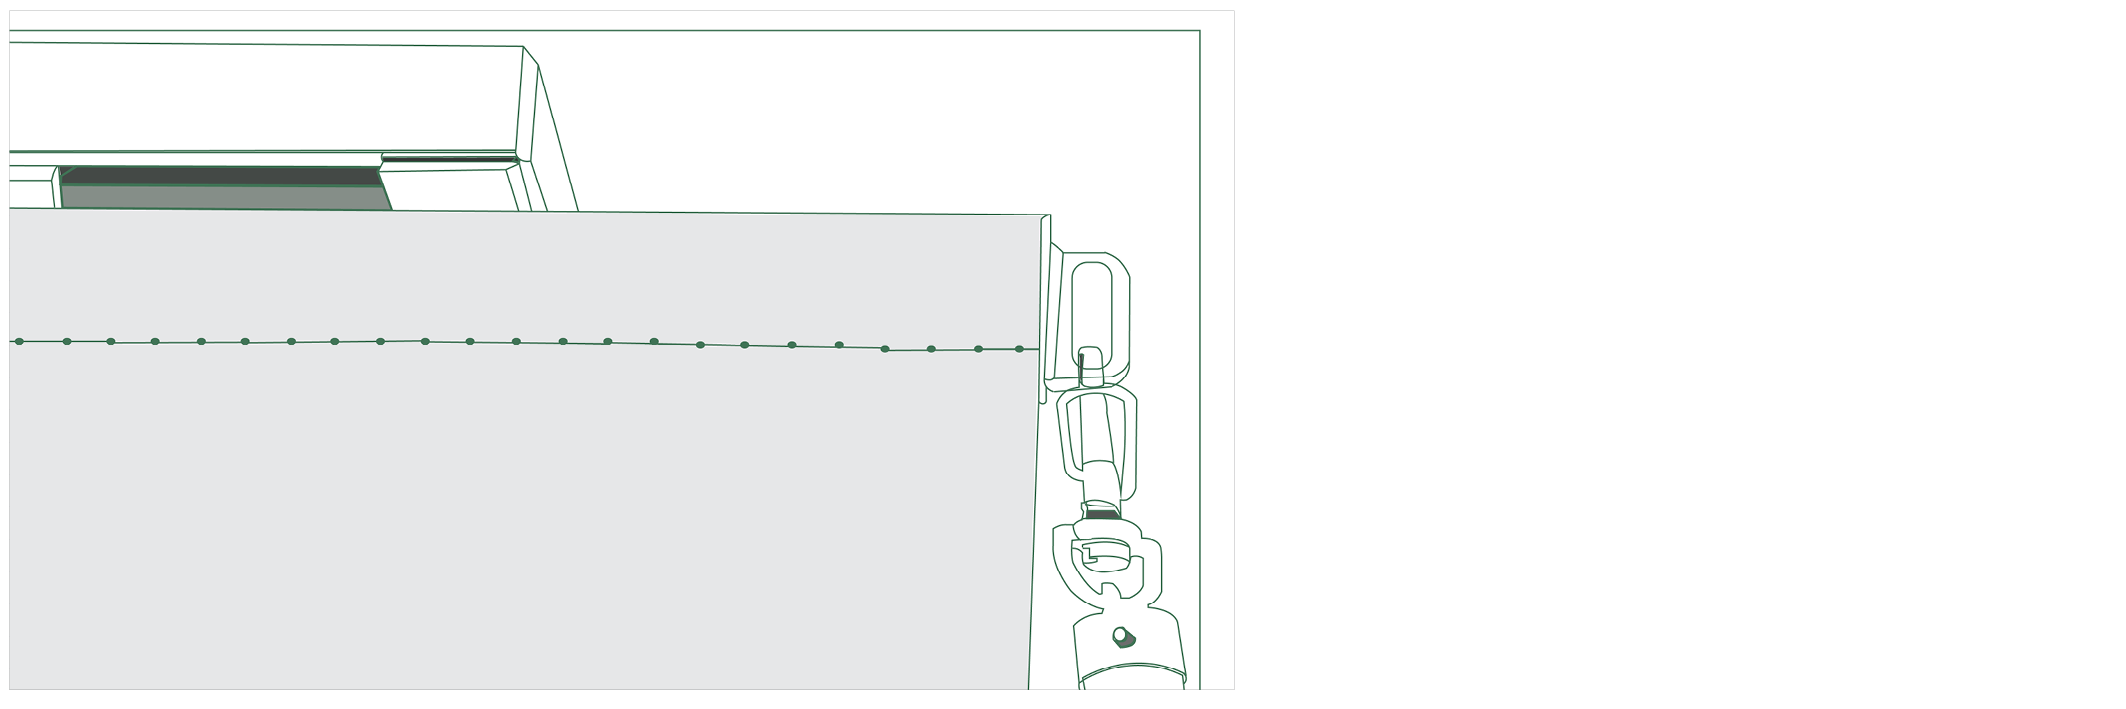
Step 3 – Attaching the glide panels
Carefully attach each glide panel to the Velcro strip pre-fitted under the blind track gliders.
Operating your blind
Attach the pull wand to the ‘lead glide panel’ (choose front or back fixed, locating a hole to suit). Using the pull wand, you should now be able to draw your panels smoothly across the track.
Joining Tracks
A. Remove the joiner cover plate and discard responsibly.
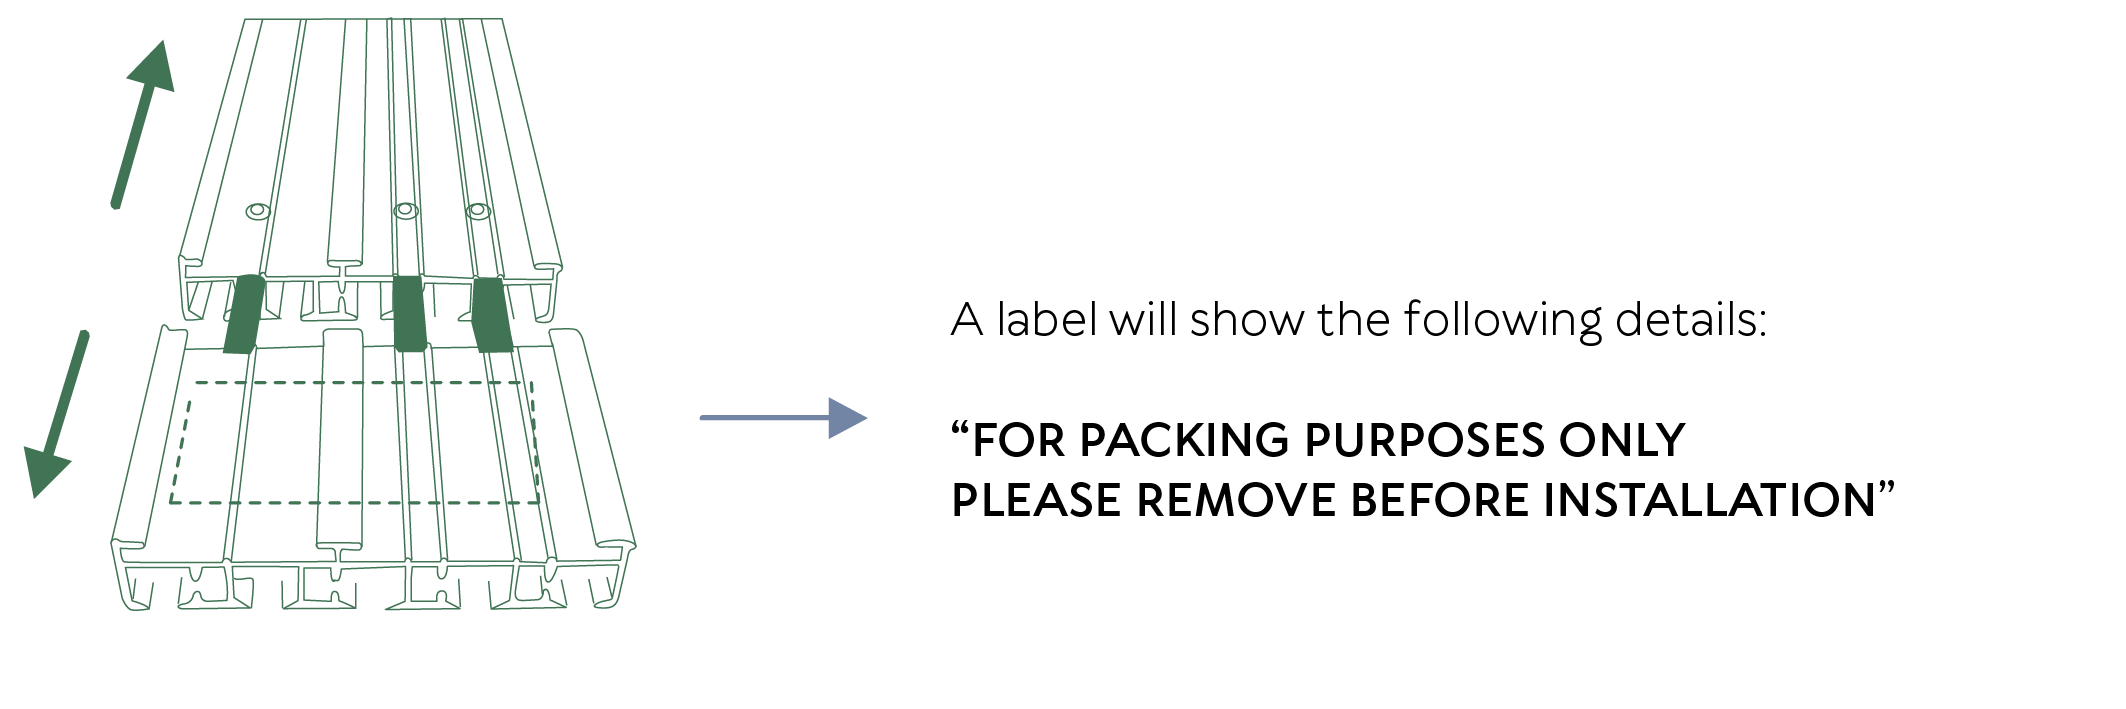
B. On a flat stable surface, push male and female ends of the blind track together until the joint is completely closed.
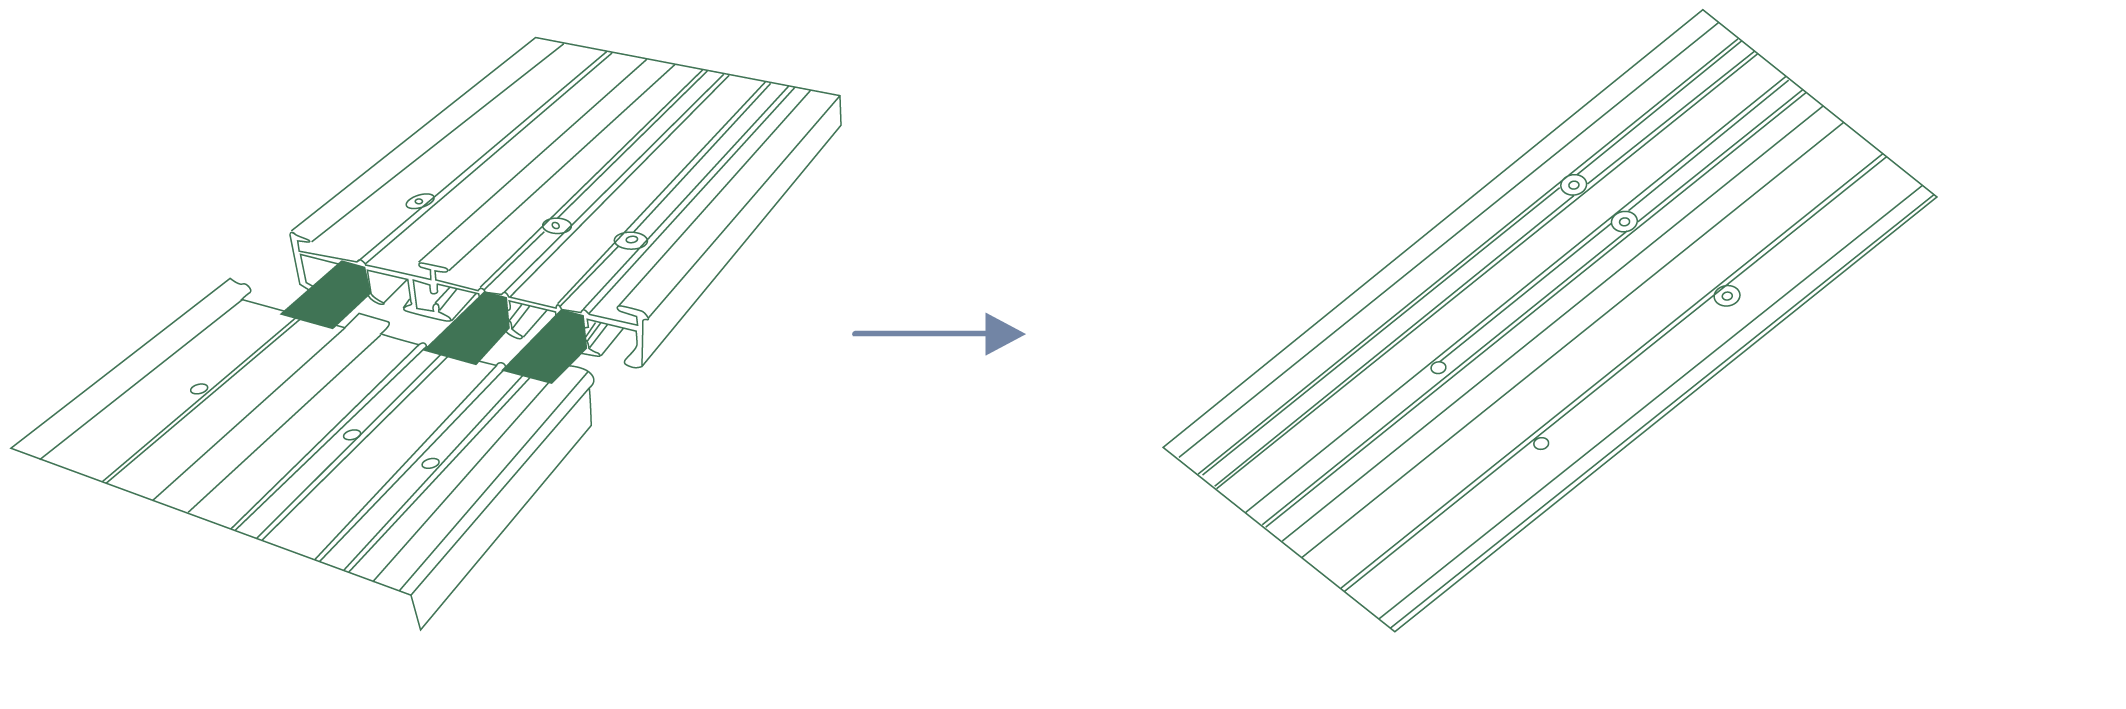
C. Insert the lock screws into the visible pre-drilled holes (the required screws are taped to the track’s underside).

D. Ensure the joined track is not flexed when installing into the mounting brackets. An extra bracket should be installed at the join point to add support centrally.