blinds
How to install Aluminium Venetian blinds
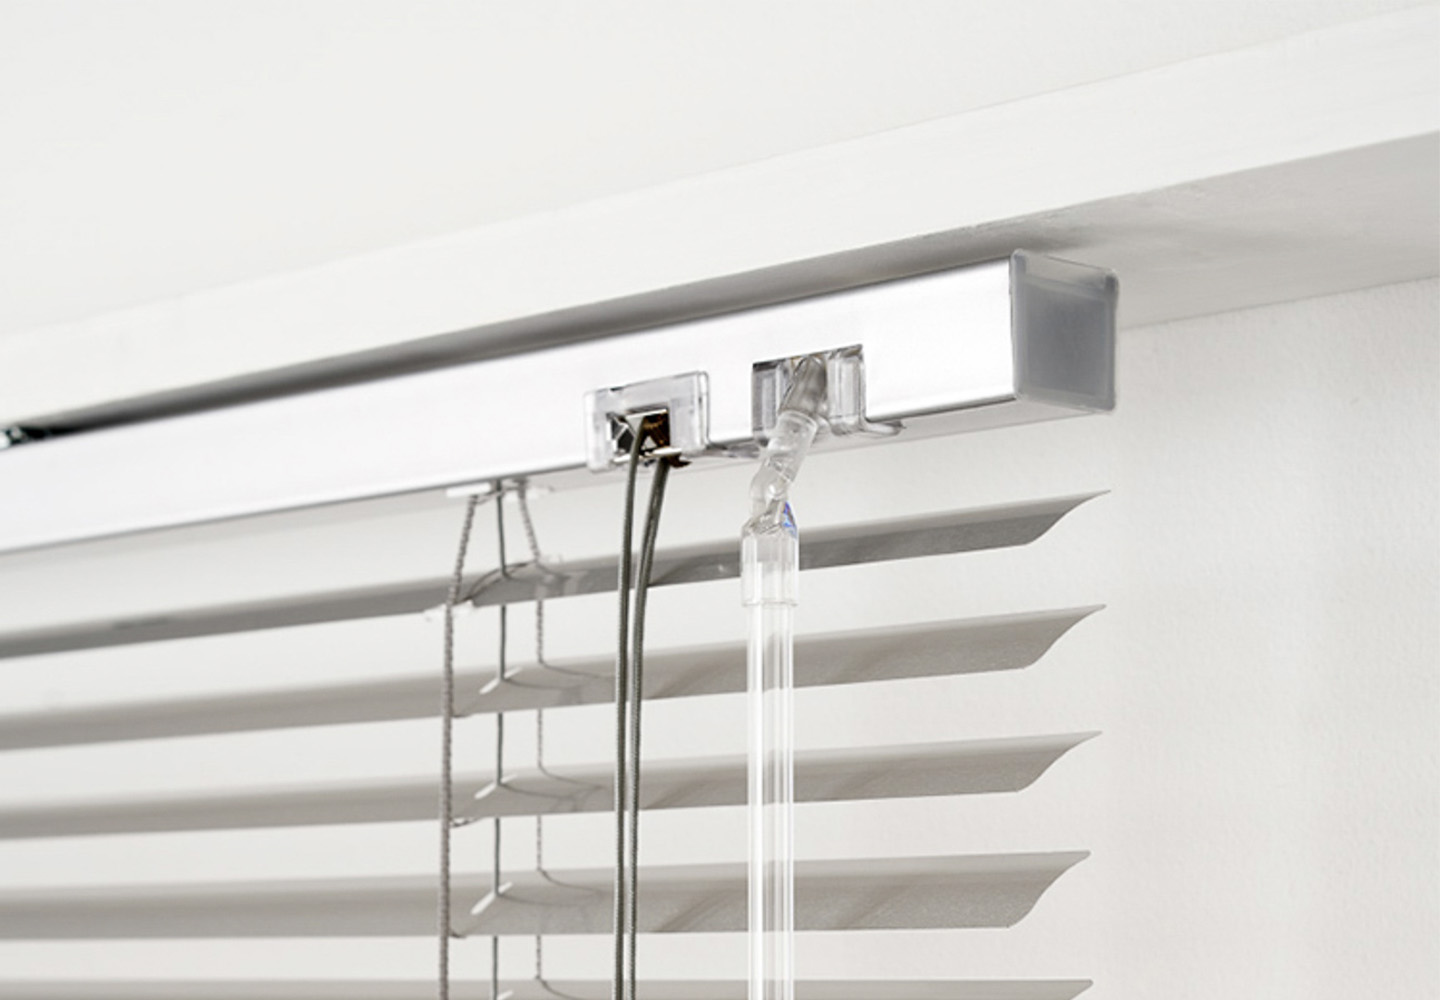

Now that you've got your brand new Aluminium Venetian blind, let's get to the installation. But before you start, please check all the fixing parts have been supplied based on the below references.
The number of fixing parts will vary in relation to the size and number of blinds supplied. In the event of any missing parts, please contact us.
The following tools and instruments are required to complete installation safely and accurately:
• Power drill
• Phillips head screwdriver
• Pencil, paper & tape measure
• Spirit level
• Small step ladder (if required)
• Protective eyewear & gloves (if drilling into masonry, metal or tile)


